The HTPC console I recently built replaced an armoir that had been in the corner of the den. Now that the TV is on another wall, the wife and I decided we should hang some pictures on the wall that divides the den from the dining room. The wife usurped the old armoir and turned it into a sewing and craft organizer.
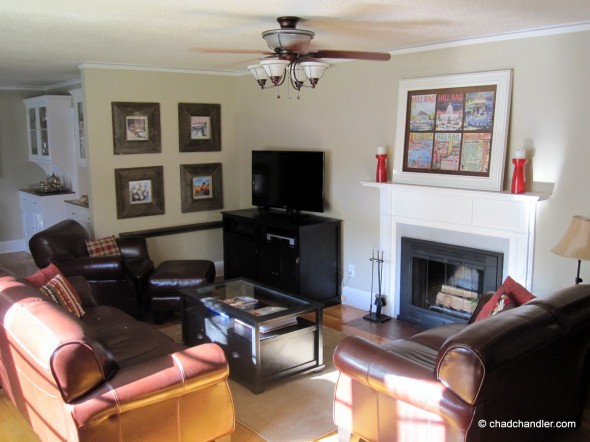
We’ve decided to replace the old prints we have hanging around the house with original pieces from local artists and/or ourselves. The wife bought me a set of brushes and paint, so I’m going to get back into art this spring and summer. I haven’t painted since my watercolor class a couple of years ago.
To begin, I thought we’d make some picture frames and just fill them with photos we’ve taken around town. I put an ad on Craigslist asking if anyone had any old barn wood laying around. Last weekend, we drove to a farm up around the North Carolina line and packed my car full of weathered lumber. The wood was a little damp, so I dried it with a box fan in the garage all week.
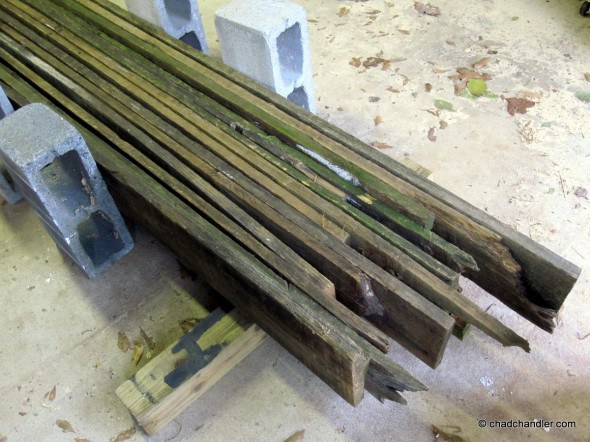
Making frames is pretty easy, but there are a couple of things that have to be considered. No two pieces of my wood were the same width or thickness. And none of the slats were long enough to make a full picture frame. So I ripped all of the pieces down to 6½” (the largest common width) and used the cut-side for the interior of the frames. That way, I was able to pair the thicknesses as best as possible and mix and match the pieces together. I routed a ¼” channel to hold the glass. If you don’t have a router, you can cut a rabbet with your table saw.
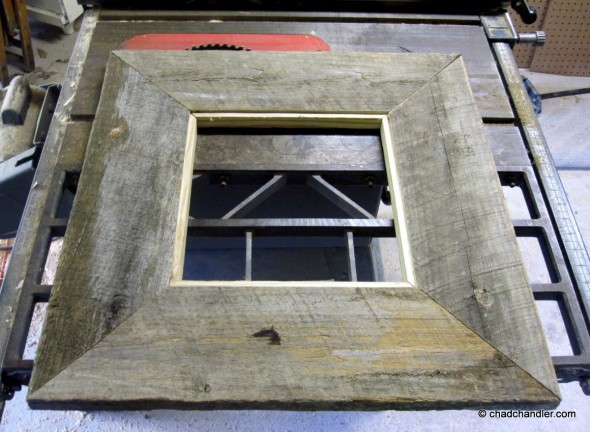
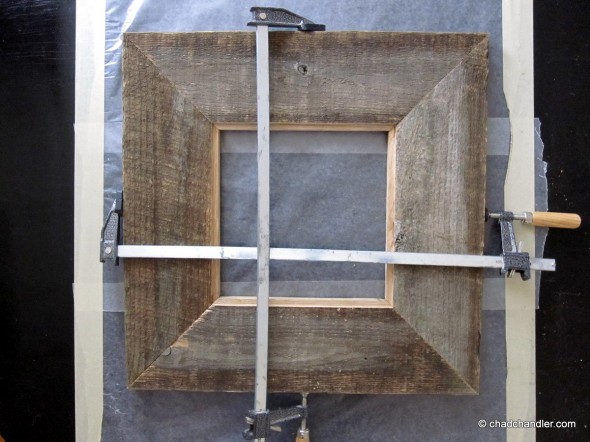
I had to borrow a 12″ miter saw from a friend (mine is only 10″) and even that wouldn’t cut the complete board at a 45° angle. I used a hand saw to cut the stubborn remnants. I could have avoided this by ripping the slats to around 4″, but I wanted them to be big. Once they were all cut, I used clamps to glue the sides together and added some thinhead screws to hold the corners tight.
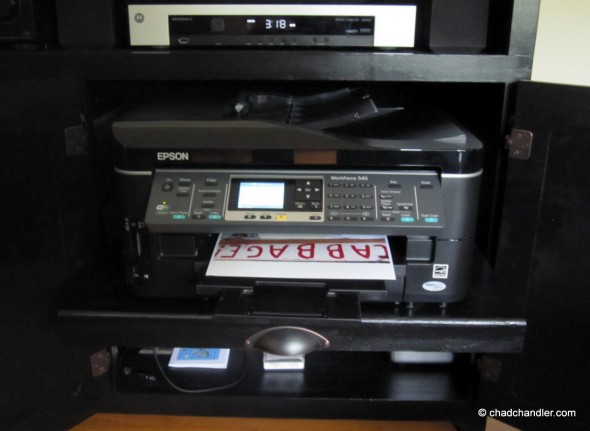
While the glue was drying, I printed four pictures on our new copier/printer. It’s amazing how much the quality of home printing has improved over the past ten years.
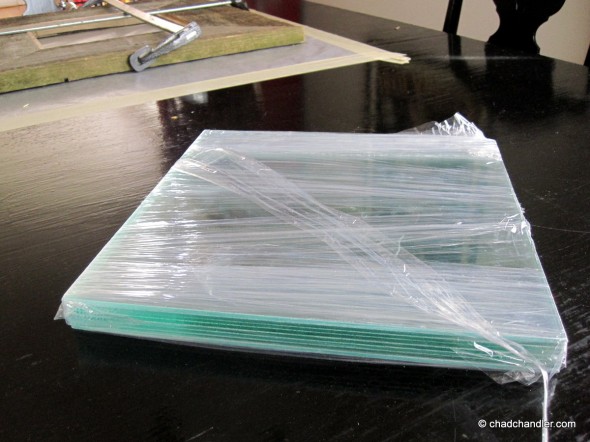
I ordered 8 panes of 1/8″-thick glass cut to 11″ x 11″. It cost $32, which was the only real expense of this project.
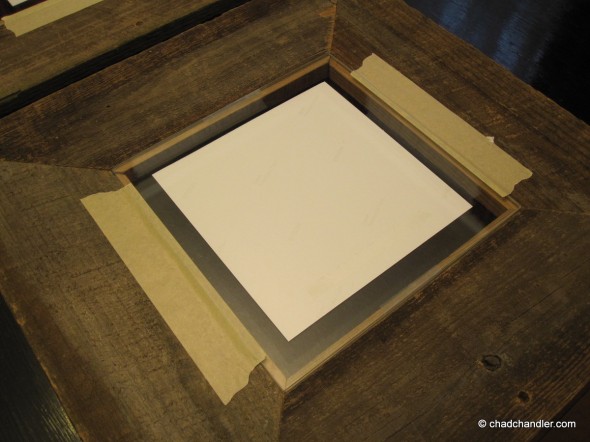
I laid the first pane of glass into the channel and then placed the 8″ x 8″ photo face-down in the center. Next, I placed a piece of double-sided tape on the back of the photo and laid the other pane of glass on top. Then I picked up both panes of glass and used scotch tape to seal them together at two of the edges. Finally, I used some masking tape to secure the glass to the the frame. You could secure the glass better with hardware, but why bother if they’re rarely going to be moved?
I used a template to drill a screw hole in the same place in the back of each frame. This attention to detail is essential to hanging them evenly. I like how you can see the wall color through the glass, and the suspended photo actually casts a shadow on the wall behind it.
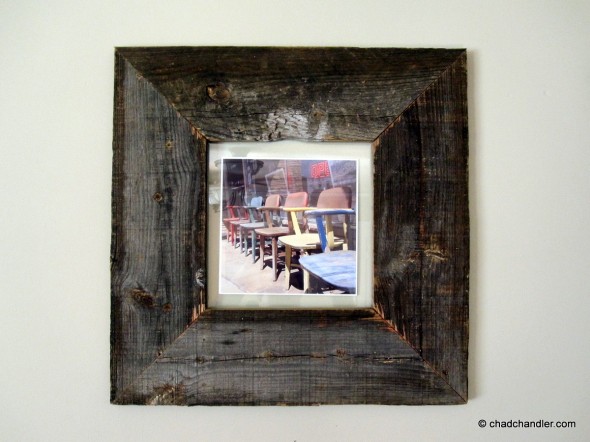
I used another piece of barn wood to make a small shelf to hang beneath the frames. It’s there to balance out the arrangement, visually, as well as to hold a drinking glass or a phone or whatever when someone is sitting in the chair.
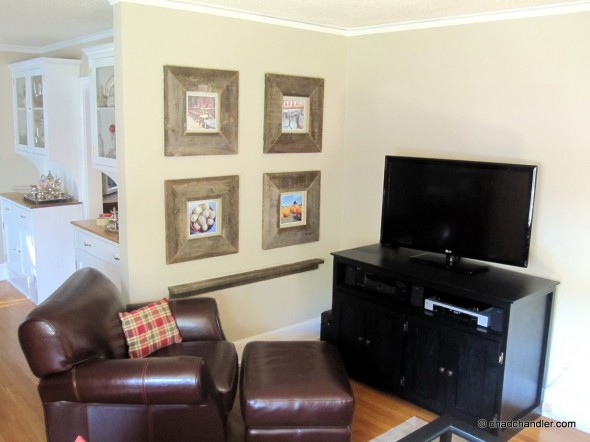
I made this when the wife was out of town, so she’ll probably swap out some of the pictures for ones she likes better. Regardless, I think these frames came out great overall. They were pretty cheap, too.
UPDATE: 5/2013
Apparently, this post has been making the rounds on Pinterest lately.
Remember, everyone, suspending the picture between two panes of glass isn’t necessary. The whole project would be easier and cheaper if you just used two-sided tape to attach the picture to some craft or butcher paper, or even some old newspaper, and then laid that directly against the glass. Or you could just make the frame opening the same size as the picture and have no backer/mat. But I think this method works well and looks pretty unique.
And since I’ve gotten a few emails about the art and frame over my fireplace mantle, here’s a link to the story about that. I didn’t do a tutorial on how to make a shadowbox frame, but I’m sure you can find a million of them online.
One last piece of advice I’ll offer is that you need to make certain the table saw angle is accurate before cutting your boards. Use a speed square or something like that to make sure it’s dead-on 45°. Otherwise, you’ll have gaps in your corners.


Pingback: DIY Barn Wood Picture Frames - picture-frames
I love the natural barn wood as is. Not sanding, no stain. The 4 frames look great on your wall!
I want to purchase 8 (11″x14″) barnwood picture frames with glass and ?hanger. Hoe much
Sorry, Ron, but I don’t build them for sale.
This is exactly what I have been looking for. Great instructions and pictures. I appreciate you taking the time to post this.
No problem, Sonny.
Pingback: 70 DIY Photo frames | Rilane - We Aspire to Inspire
It looks as though the frame is beveled down to the picture. How did you accomplish that? Great pics and descriptions.
That’s an illusion from the photograph. The only routing is the channel for the glass in the back of the wood.
Pingback: Diy Barn Wood Picture Frames – Hans G Ramsey
Pingback: Diy Barn Wood Table Top | D.I.Y Woodworking Plans
Wood is beautiful. Need a price list on standard sizes.12×24, 16×12, 16×20.
rjbvangogh@aol.com
My only concern with this is that the barn wood may be home to insects not visible to the naked eye. Without kiln drying you could be bringing them into the house.
Pingback: 9 Easy Woodworking Projects for Beginners | ToolShelf.co.uk
Pingback: 70 DIY Picture Frame Ideas To Make Without Power Tools ⋆ DIY Crafts
Pingback: Woodworking Hobby – My Blog About Wood working
Pingback: How To Make A Frames Woodworking - Woodworking Ideas