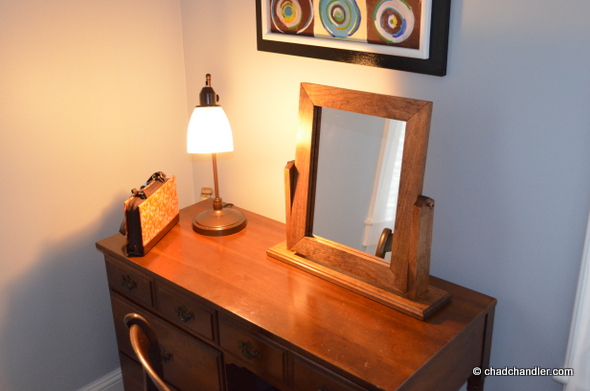
The wife has a desk in our bedroom that she wants to use to organize all of her make-up. She asked if I would build a vanity mirror so that it’s the exact size she needs. I promised to make it for Valentine’s Day 2014, then it became an anniversary present, then birthday, then Christmas. I finally made it for Valentine’s Day 2015. You can call me Mr. Followthrough.
My main problem was sourcing cherry wood. Every lumber yard I contacted focused primarily on construction woods—plywood, OSB, pine studs, pressure-treated pine, cross ties, etc. I eventually found a lumber yard and workshop that stocks all kinds of hardwoods. The best part is, it’s only ten miles from my house.
I finally found a local lumber yard with a wide assortment of hardwoods. I’m like a kid in a candy store. pic.twitter.com/HlGbDTOqGL
— Chad Chandler (@chad_chandler) January 19, 2015
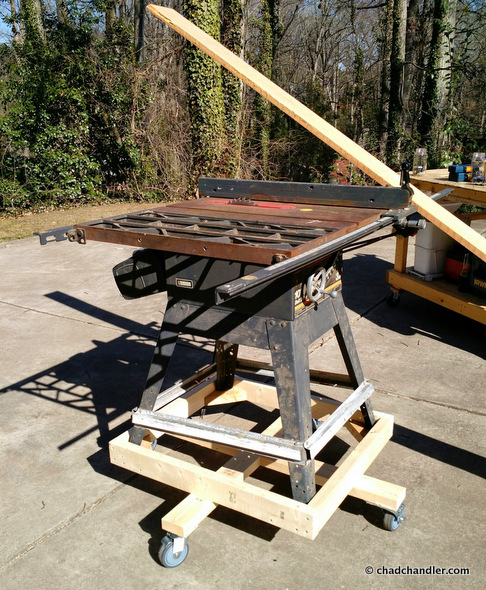
They planed down an 11-foot, rough-hewn board for me. I also had them straighten one edge so that I could run it through my table saw. That’s another problem. I like to roll my tools outside so that I can use my blower to scatter the sawdust. My table saw is pretty heavy and moving it is difficult to do alone. I finally got around to putting it on heavy-duty, locking casters. Now it’s really easy to move in and out of the basement and it stands firm when in use. You can see my cherry board here.
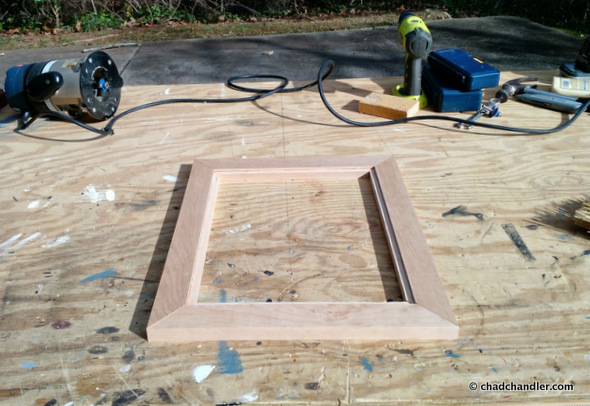
There’s really not much to this project. The work is 1/10th knowledge and 9/10th tools. The wife told me how big she wanted the actual mirror and I just worked backwards from that. Here’s the mirror part. I just routed it to hold the mirror that I had cut to fit later. The fact that this is so easy is why I have a hard time forking over hundreds of dollars for picture frames.
I knew I wouldn’t be able to exactly match the stain of the desk. This was part of my mother-in-law’s childhood bedroom set, so I can’t exactly run out and get a fresh can of it.
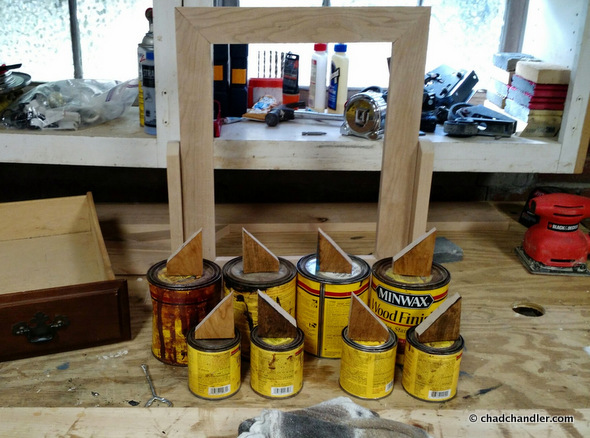
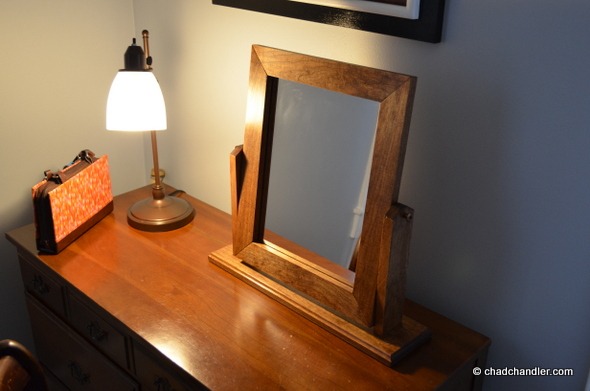
I ended up blending three stains to get a color that I thought complemented the finish of the desk. I put on two coats of stain and three coats of polyurethane.
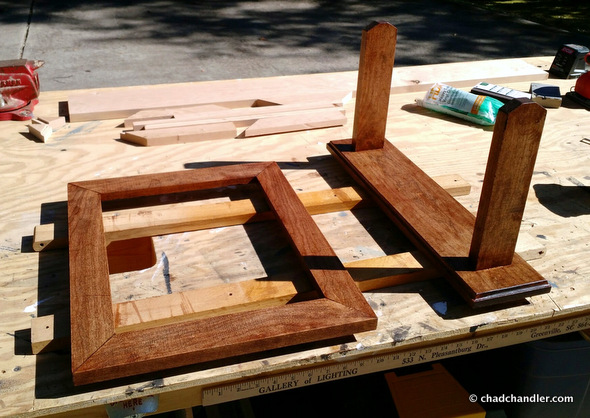
Next I drilled 1/4″ holes in the center sides of the mirror as well as corresponding holes in the stand. I used hanger bolts with a decorative nut to tie them together. The nut tightens with a hex wrench.
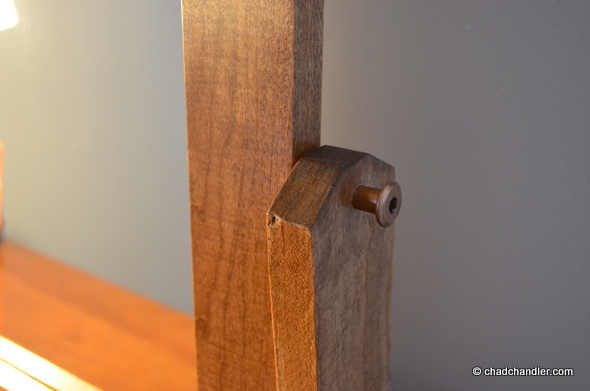
There are plastic washers between the stand and the mirror to keep the wood from scraping.

Finally, I had a 1/8″-thick mirror cut for about $9. I mounted it with some clear caulk. I also added a few felt pads underneath the base to keep it from scratching the desktop. Here it is in the bedroom. The wife bought some special kind of lamp (I have no idea what makes it special) and finally moved her make-up out of the closet and into the desk.
Now I’m looking forward to using all of my cherry scraps when I make wood-fired pizza and BBQ.


